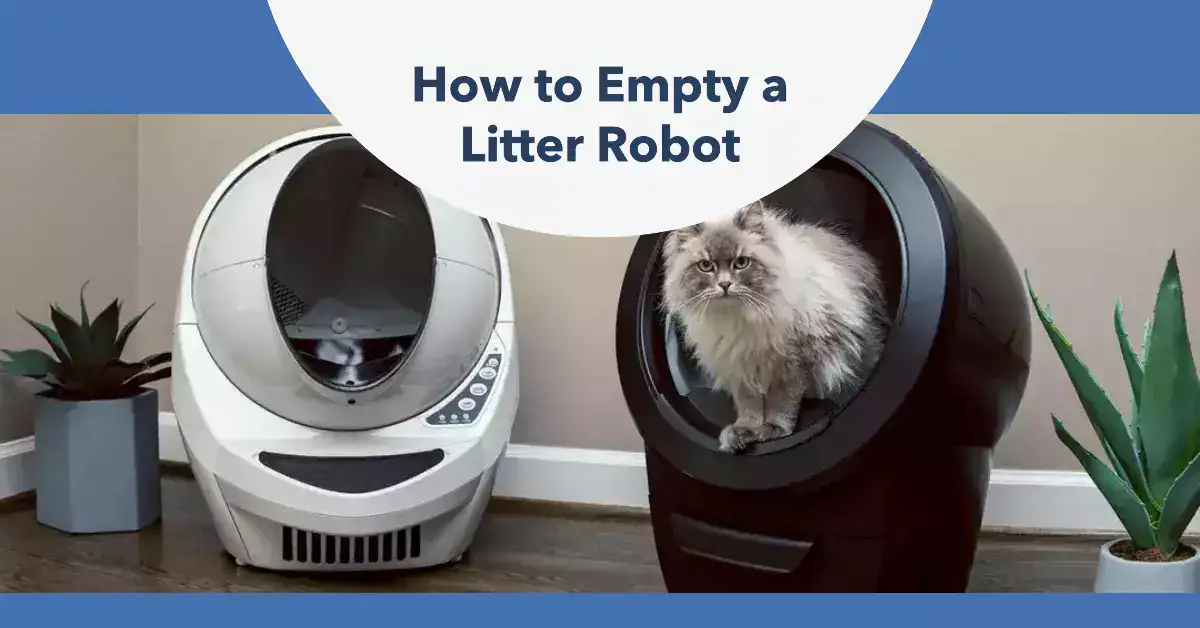
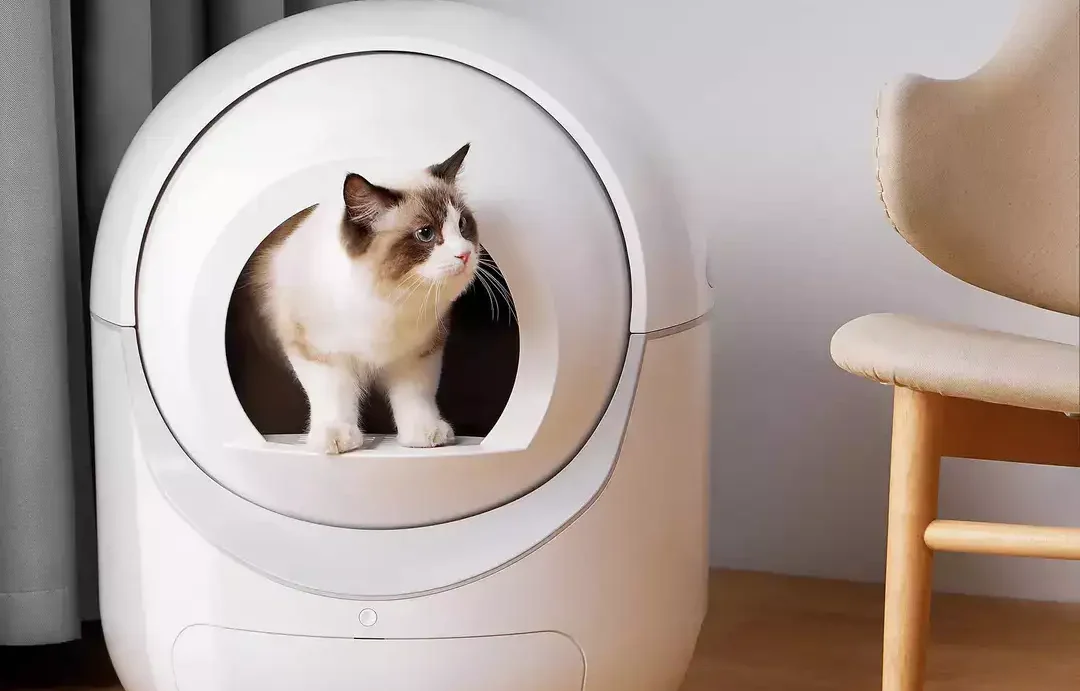
If you have a Litter Robot, you know how convenient it is to have an automatic cat litter box that does most of the work for you. However, even a Litter Robot needs some regular maintenance and deep cleaning to keep it working well and smelling fresh. In this article, we will show you how to deep clean your Litter-Robot in a few easy steps.
What is a Litter Robot?

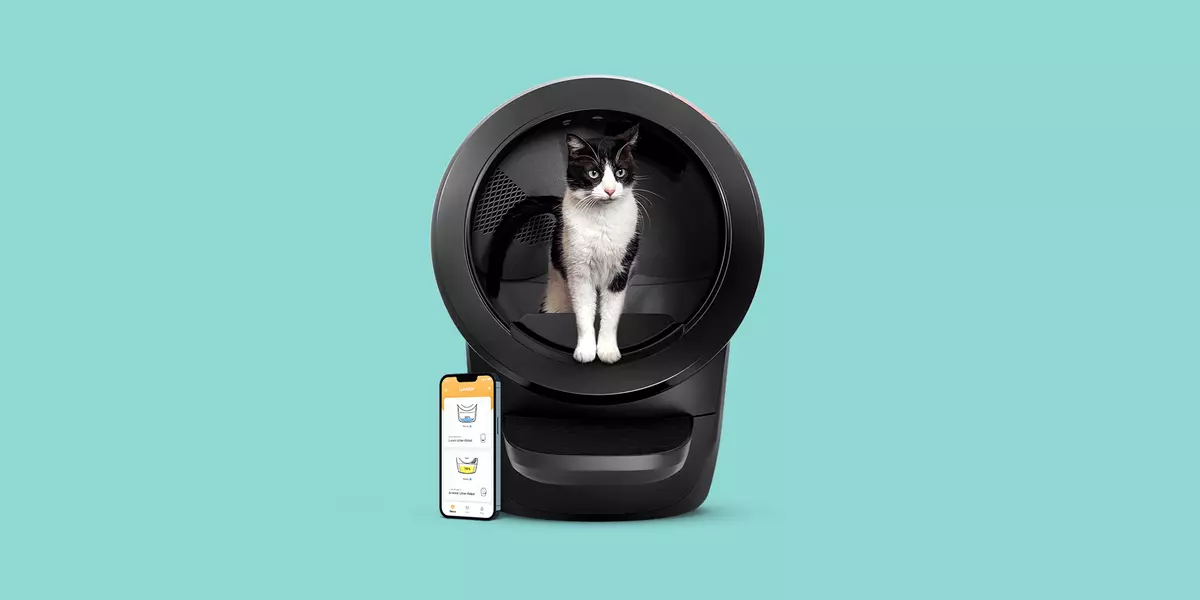
A Litter Robot is a self-cleaning cat litter box that uses a rotating globe and a sifting system to separate the waste from the clean litter. The waste is deposited into a drawer lined with a trash bag, which can be easily emptied and replaced. The Litter Robot also has a carbon filter and a night light for your cat’s comfort.
A Litter Robot can save you time and money by reducing the amount of litter you need to buy and scoop. It can also help prevent odors and messes in your home. However, like any other appliance, it needs some care and attention to keep it in good shape.
Why Deep Cleaning is Important

Deep cleaning your Litter Robot is important for several reasons:
- It helps extend the lifespan of your unit by preventing dirt and debris from damaging the components.
- It improves the performance of your unit by ensuring that the sensors and motors work properly.
- It reduces the risk of malfunctions and errors by removing any potential obstructions or blockages.
- It enhances the hygiene and health of your cat by eliminating any bacteria or germs that may grow in the litter or waste.
- It prevents unpleasant smells and stains by removing any residue or buildup that may cause odors.
You should deep clean your Litter-Robot at least every three months, or more often if you have multiple cats or if you notice any signs of dirtiness or odor. You should also perform a basic cleaning every one to three months, depending on how often you empty the waste drawer.
Preparing for Deep Cleaning
Before you start deep cleaning your Litter Robot, you will need some tools and supplies:
- A mild soap or detergent
- A soft cloth or sponge
- A toothbrush or a small brush
- A vacuum cleaner
- A trash bag
- A towel
- A Litter-Robot cleaner spray or wipes (optional)

You will also need to take some safety precautions:
- Turn off and unplug your unit before cleaning it.
- Do not submerge, spray, or soak the base or the control panel, as they contain electronic parts that can be damaged by water.
- Do not use bleach, ammonia, or other harsh chemicals, as they can harm the plastic parts or the coating of the globe.
- Do not use abrasive materials, such as steel wool or scouring pads, as they can scratch the surface of the globe.
Now that you have everything ready, let’s begin!
How to Clean Litter Robot: Step-By-Step Guide to Deep Cleaning
Deep cleaning of your Litter-Robot should be done at least every three months, or more often if you have multiple cats or notice any unpleasant odors. Deep cleaning involves disassembling the unit, washing the globe and the waste drawer, and wiping down the base and the sensors. Here are the steps to follow:
Step 1: Disassemble the Litter Robot; Litter-Robot Empty Button
Before you start cleaning, make sure to unplug the unit and remove any power cords or accessories. Then, follow these steps:
- Press the Empty button on the control panel to cycle the globe clockwise and dump all the litter into the waste drawer. You may need to sweep any leftover litter toward the waste port with a brush or a cloth.
- Press either Cycle or Reset to return the globe to the home position.
- Open the bonnet by pressing and holding the buttons on both sides of it, then lift and rotate it to its open position.
- Remove the globe by using the handle and lifting it off the base. Be careful not to spill any litter on the floor or on the base.
- Remove the carbon filter from the waste drawer by pulling it out.
Step 2: Clean the Globe
The globe is part of the Litter Robot where your cat does its business, so it needs a thorough cleaning. You can use a mild soap or detergent and warm water to wash it, or you can use a specially designed Litter Robot cleaner spray or wipes. Here are some tips on how to clean the globe:
- Wash the globe with a sponge or a cloth, making sure to get into all the crevices and corners. You can also use a toothbrush or a scrubber to remove any tough stains or dried litter.
- Rinse the globe well with clean water and let it dry completely before reassembling it. You can use a towel to speed up the drying process, or you can leave it in a sunny spot for a few hours.
- If the globe is very dirty or smelly, you can soak it in a tub of warm water and vinegar for about 15 minutes, then rinse it well and dry it.
- Do not use bleach, ammonia, or any harsh chemicals to clean the globe, as they may damage it or irritate your cat’s skin.
Step 3: Clean the Base
The base is where the motor, the sensors, and the electronics are located, so you need to be careful not to get them wet or damaged. You can use a damp cloth or a wipe to clean the base but do not spray any liquid directly on it. Here are some tips on how to clean the base:
- Wipe down the exterior of the base with a cloth or a wipe, making sure to avoid any openings or vents where water could get in.
- Use a vacuum cleaner or a brush to remove any litter debris from the inside of the base, especially around the waste port and the gear track.
- Clean the sensors with a cotton swab dipped in rubbing alcohol. The sensors are located on both sides of the waste port and on top of the bonnet latch. They detect when your cat enters and exits the unit, and when the waste drawer is full.
- Do not use any abrasive materials or tools to clean the base, as they may scratch it or damage it.
Step 4: Reassemble the Litter Robot
Once all the parts are clean and dry, you can put them back together and plug in the unit. Here are the steps to follow:
- Reattach the globe to the base by aligning it with the gear track and the rear bearing pocket. Make sure the globe is sitting flush and snug in the base.
- Rotate the bonnet downward with light pressure on the sides, so that it hugs the globe. Push down on the bonnet from the top and make sure it has latched into place securely.
- Reinsert the carbon filter into the waste drawer by sliding it into the slot.
- Add fresh litter to the globe, filling it up to the fill line. You can use any clumping litter that works for your cat, but avoid lightweight or dusty litter, as they may cause problems with the sensors or the motor.
- Run a full cycle by pressing and holding the Cycle button for three seconds, then releasing it. The globe will rotate counterclockwise and then clockwise, leveling the litter and checking for any errors. If everything is working well, you will hear a beep and see a blue light on the control panel.

How to Clean the Litter-Robot 3

The Litter-Robot 3 is a self-cleaning litter box that makes cat care easier and more convenient. However, it still needs some regular maintenance to keep it working properly and hygienically. Here are some simple steps on how to clean the Litter-Robot 3:
1. Empty the waste drawer when the indicator light is blue. You can use any standard kitchen trash bag or the custom-fit liners that come with the Litter-Robot 3.
2. Wipe down the waste drawer with a damp cloth or mild detergent. Avoid using harsh chemicals or abrasive cleaners that could damage the plastic or the sensors.
3. Remove the bonnet and the globe from the base. You can do this by pressing the two release buttons on the sides of the bonnet and lifting it up. Then, lift the globe off the base by grabbing the lip at the back.
4. Clean the bonnet and the globe with warm water and mild soap. You can use a sponge or a soft brush to remove any stuck-on litter or debris. Rinse well and dry thoroughly before reassembling.
5. Clean the carbon filter in the waste drawer by rinsing it under running water and squeezing out the excess moisture. Replace the filter every few months or when it becomes noticeably dirty or smelly.
6. Clean the sensors in the base and the globe with a cotton swab dipped in rubbing alcohol. Be gentle and avoid touching the sensors with your fingers. The sensors are located on the bottom of the base and on the inside of the globe near the entrance.
7. Reassemble the Litter-Robot 3 by placing the globe on the base, and aligning the tabs and slots. Then, place the bonnet on top of the globe, making sure it snaps into place. Plug in the power cord and turn on the unit.
By following these steps, you can keep your Litter-Robot 3 clean and fresh for your cat and yourself. For more tips and troubleshooting, visit www.litter-robot.com/support.
Expert Tips On how To Deep Clean Litter Robot 3:
Maintenance tips to keep your Litter-Robot 3 clean and odor-free
Regular maintenance is key to keeping your Litter Robot 3 clean and odor-free. Here are some maintenance tips to help you maintain a pristine litter box:
1. Scoop daily: While the Litter Robot 3 automates the cleaning process, it’s still important to scoop out any solid waste daily. This will prevent any buildup or clogs in the system.
2. Empty the waste drawer regularly: Empty the waste drawer at least once a week or whenever it reaches its capacity. This will prevent any overflow and ensure optimal performance.
3. Use clumping litter: Clumping litter is ideal for the Litter Robot 3 as it allows for easy removal of waste. Avoid using non-clumping or crystal litter as it may not work effectively with the unit.
4. Check the sensors: Periodically check the sensors to ensure they are clean and free from any debris. This will ensure accurate detection and proper functioning of the Litter Robot 3.
5. Clean the exterior: Wipe down the exterior surfaces of the Litter Robot 3 regularly to remove any dust or dirt that may have accumulated.
By following these maintenance tips, you’ll be able to enjoy a clean and odor-free litter box for your cat.
Common mistakes to avoid when deep cleaning the Litter Robot 3
While deep cleaning your Litter Robot 3, it’s essential to avoid some common mistakes that can potentially damage the unit or compromise its performance. Here are a few mistakes to steer clear of:
1. Using harsh chemicals: Avoid using harsh chemicals or cleaning agents that can damage the plastic components of the Litter Robot 3. Stick to mild detergent or pet-safe cleaning solutions.
2. Not rinsing thoroughly: After cleaning, make sure to rinse all parts thoroughly to remove any detergent or cleaning solution residue. Leaving residue behind can be harmful to your cat.
3. Forgetting to dry completely: Ensure that all parts are completely dry before reassembling the Litter Robot 3. Moisture can lead to mold or mildew growth.
4. Missing hidden areas: Pay attention to hard-to-reach areas, such as the litter chute and the underside of the globe. These areas can accumulate debris and require extra attention during cleaning.
By avoiding these common mistakes, you’ll ensure a safe and effective deep cleaning session for your Litter-Robot 3.
Troubleshooting tips for any issues during the deep cleaning process
Sometimes, issues may arise during the deep cleaning process of your Litter-Robot 3. Here are some troubleshooting tips to help you address common problems:
1. Stuck waste drawer: If the waste drawer becomes stuck, check for any obstructions or debris blocking its movement. Clean any debris and ensure the drawer is properly aligned before reinserting it.
2. Motor not working: If the motor fails to operate after cleaning, check the power source and ensure the unit is correctly plugged in. If the problem persists, contact the manufacturer for further assistance.
3. Excessive noise: If the Litter Robot 3 is making unusual noises after cleaning, inspect the mechanism for any debris or obstructions. Clean any debris and run a test cycle to check if the noise persists.
If you encounter any other issues, consult the manufacturer’s troubleshooting guide or contact their customer support for assistance.
Conclusion
Deep cleaning your Litter-Robot is not a difficult task, but it is an important one to keep your unit functioning well and your cat happy and healthy. By following these steps, you can ensure that your Litter-Robot stays clean and odor-free for a long time.
Here are some tips for maintaining a clean Litter-Robot:
- Empty the waste drawer regularly, at least once a week, or more often if you have multiple cats or notice any smells. You can also use a deodorizer or a liner to reduce odors in the waste drawer.
- Perform a basic cleaning of the globe every month or so, by wiping it down with a cloth or a wipe. You can also manually rotate the globe to access different areas for spot cleaning.
- Replace the carbon filter every three months or as needed. The carbon filter helps absorb odors from the waste drawer, but it can lose its effectiveness over time.
- Check the sensors and the motor periodically for any signs of wear or malfunction. If you notice any errors or issues with your Litter Robot, contact customer service for assistance.
We hope this article has helped you learn how to deep clean your Litter-Robot and keep it in good shape. If you have any questions or comments, feel free to leave them below. And if you are looking for more information on automatic cat litter boxes, check out these links:
- Train Your Cat to Use an Automatic Cat Litter Box
- Stop Your Cat from Peeing Outside the Litter Box
- Hidden Litter Box Furniture
- Why Is My Cat Not Using the Litter Box?
- The Best Place to Put an Automatic Cat Litter Box


